

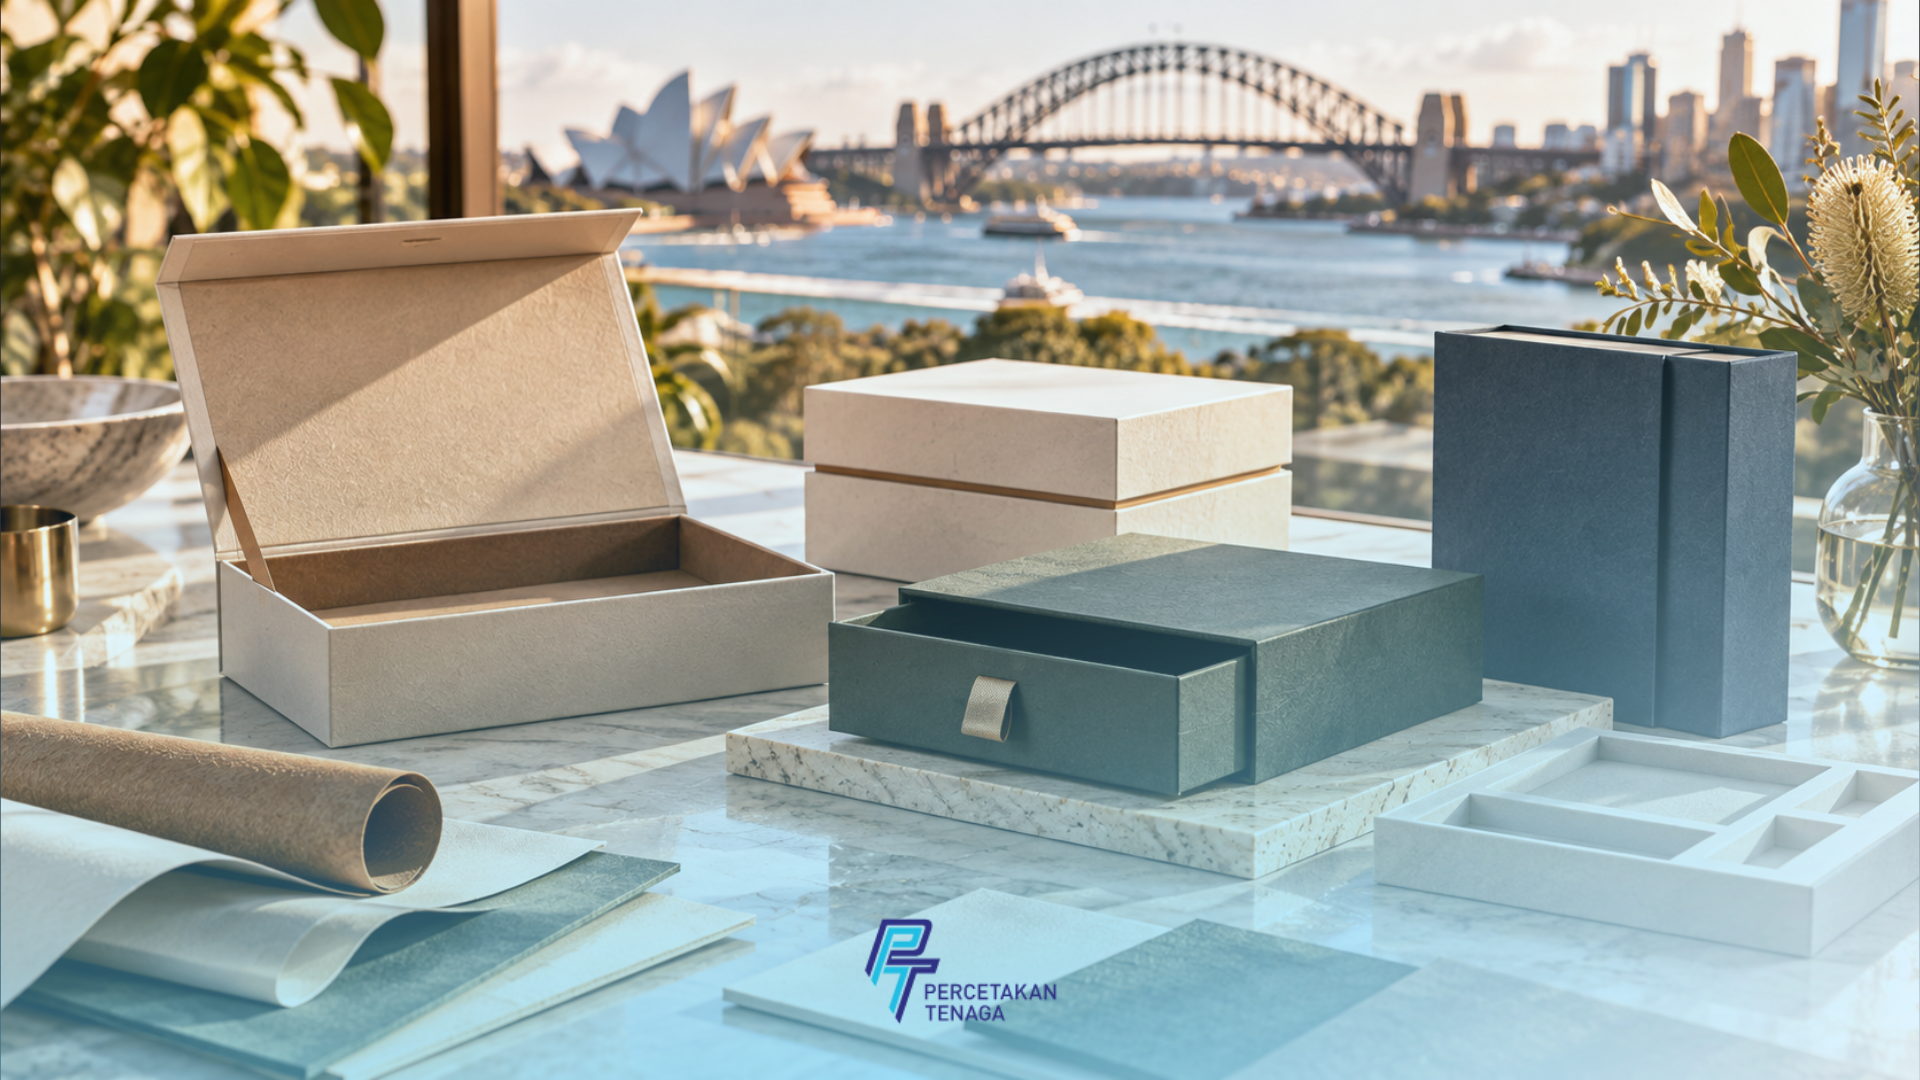
The rigid box manufacturing process takes seven stages in a fixed order, from specifications and product test fit through prototype, design, approval, production and delivery. Rigid box production itself moves from cutting board to printing, finishing, wrapping and assembly, with colour, glue and print quality checked as the run goes, so what arrives matches the sample you signed off.
Key Takeaways
- Every rigid box follows the same seven-stage sequence, and the prototype is built before any artwork goes on, so the structure is proven first.
- A physical prototype answers what a render can't: how a wine bottle seats, whether an insert holds a pharmaceutical product, how a drawer slides.
- Rigid box production is a chain: board preparation, offset printing, finishing, wrapping and assembly.
- Colour, glue and print quality are checked during the run, not just at the end.
- Approval is a genuine gate: nothing enters a full run until the prototype and final artwork are signed off.
- Minimum order quantity for boxes starts at 5,000 units, with lead time ideally three to six weeks.
Hold a finished rigid box and it feels effortless: firm walls, a lid that closes with a soft resistance, an edge that stays sharp. That result is never accidental. It comes from decisions made in a particular order, and when the order slips, the flaws show up in the box: a wine bottle that rattles, an insert that lets a pharmaceutical product shift, a foil mark sitting a few millimetres off.
This guide follows rigid box manufacturing from first specification to delivery, covering how a box is prototyped, designed, printed, finished and assembled, and why each stage sits where it does. It's written with Australian wine, skincare, cosmetics, pharmaceutical and electronic device brands in mind.
01.The Rigid Box Manufacturing Process in Seven Stages
The sequence is identical whether the box is a telescopic wine gift box or a shoulder neck pharmaceutical carton. What varies is what each stage has to prove.
Two rules hold the sequence together: structure is proven before artwork is applied, and nothing enters a full run without sign-off. The same sequence, for every packaging type we make, is in our guide on custom packaging from design to mass production.
02.Specifications, Test Fit and Prototyping
A rigid box project begins with a specification sheet: outer dimensions, board thickness, structural format, finishes, inserts and quantity. Every later stage inherits these decisions, so they're settled before any board is cut.
The product test fit follows. We work from the actual product, whether that's a wine bottle with an unusual shoulder, a serum dropper, a medical device or a phone accessory, because real products rarely match their listed dimensions exactly. Cavity and insert changes are made now, on paper.
Why the Prototype Comes Before the Design
Prototyping is where the specification becomes something you can pick up. The sample is built unprinted so the structure alone is being judged: does the drawer glide without catching, does a magnetic lid close with an even pull, does a shoulder neck lid sit level, does the product stay firm with no rattle.
Structure first, artwork second. An unprinted prototype proves the box works before any design is committed to it.
The order protects the design. Change the structure after the artwork is done and every panel, fold and finish position has to be reworked. Prove the structure on a plain sample and the artwork is built once.
03.Design and Artwork on a Proven Structure
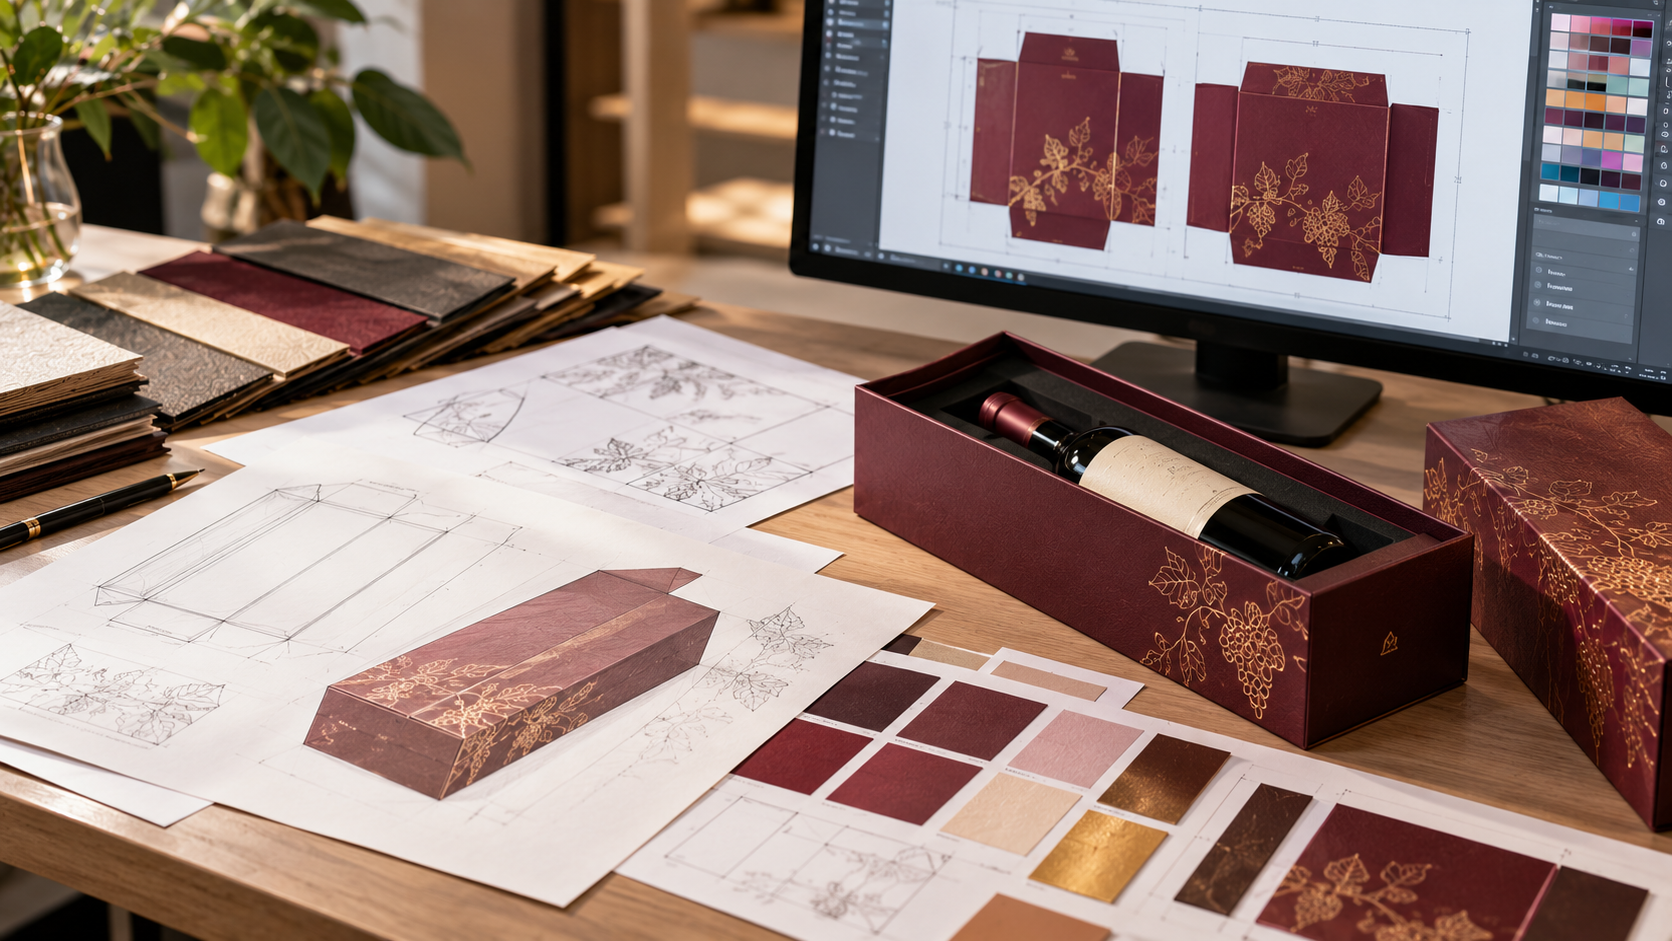
With the structure proven, design begins. Four things happen here, and each relies on the prototype already being settled.
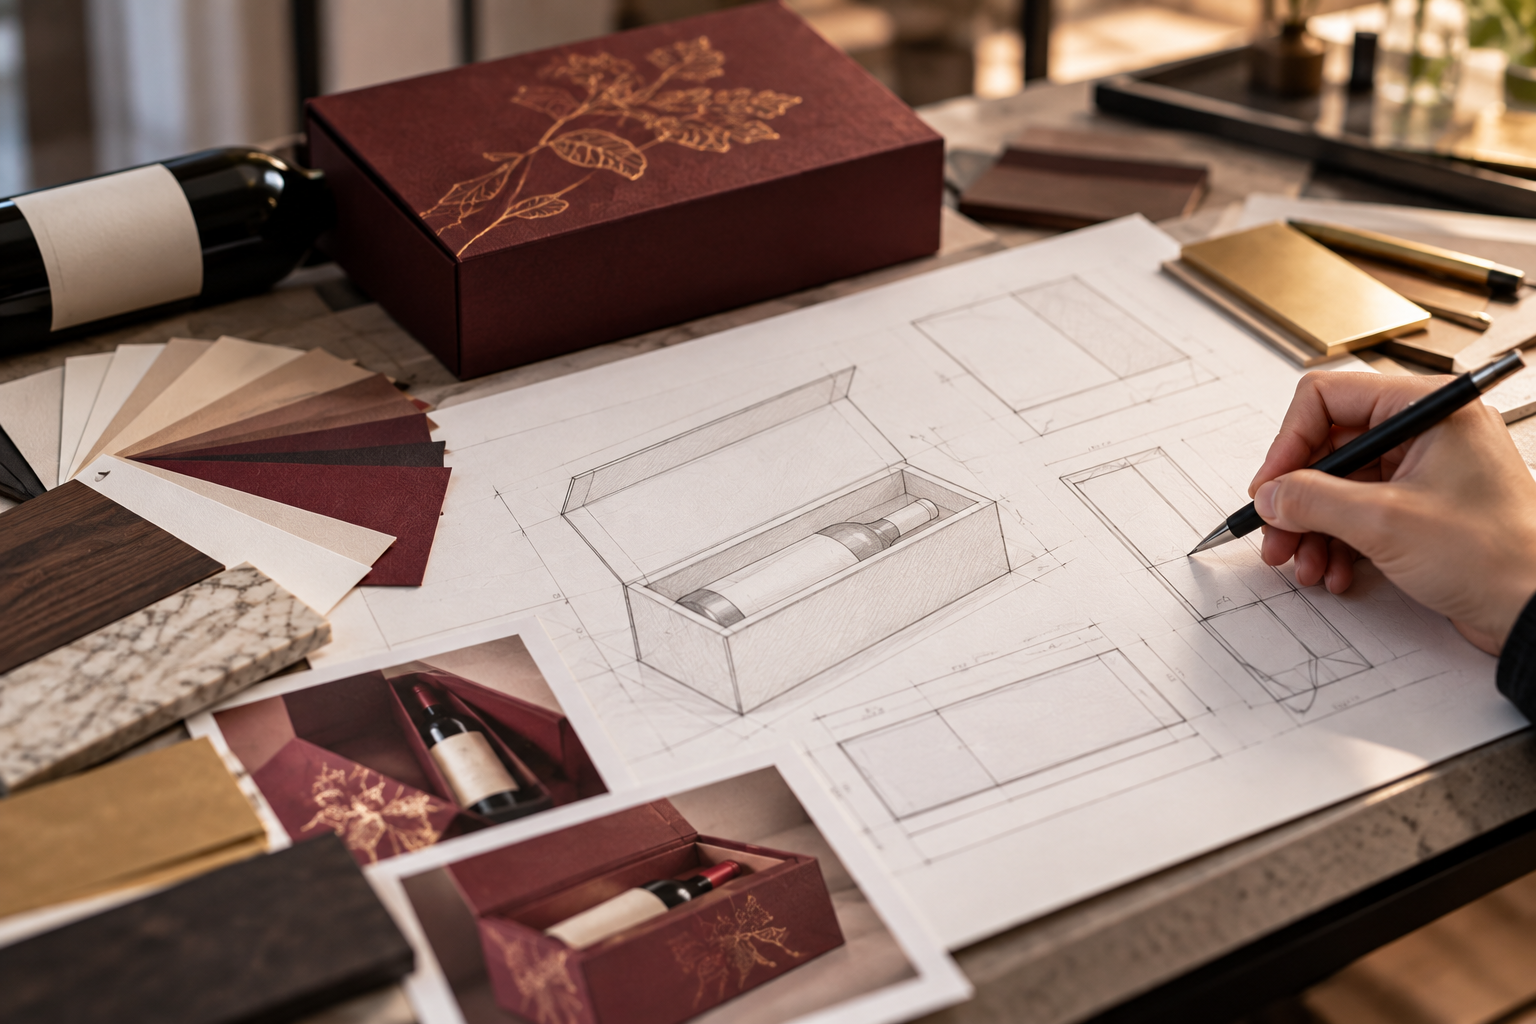
Built on the dieline
Artwork is laid over the dieline of the proven box, so panels, folds and edges land where the structure actually is.
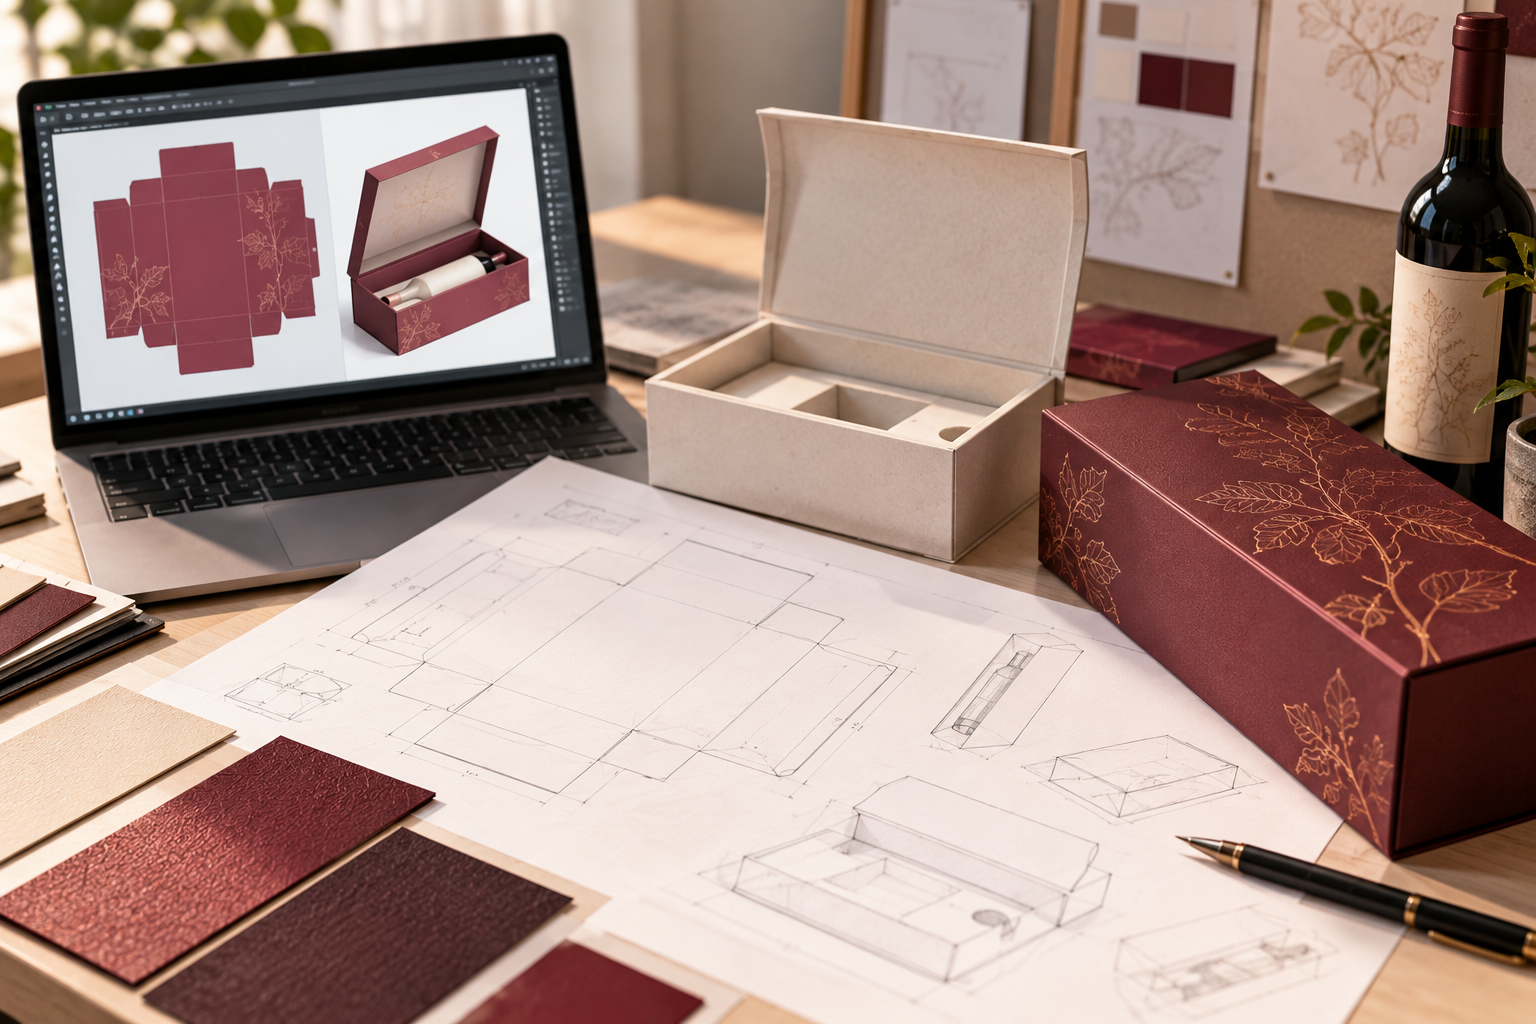
Bring your files, or use ours
Design can begin from a brand's existing files, or our design team can develop the artwork around the product.
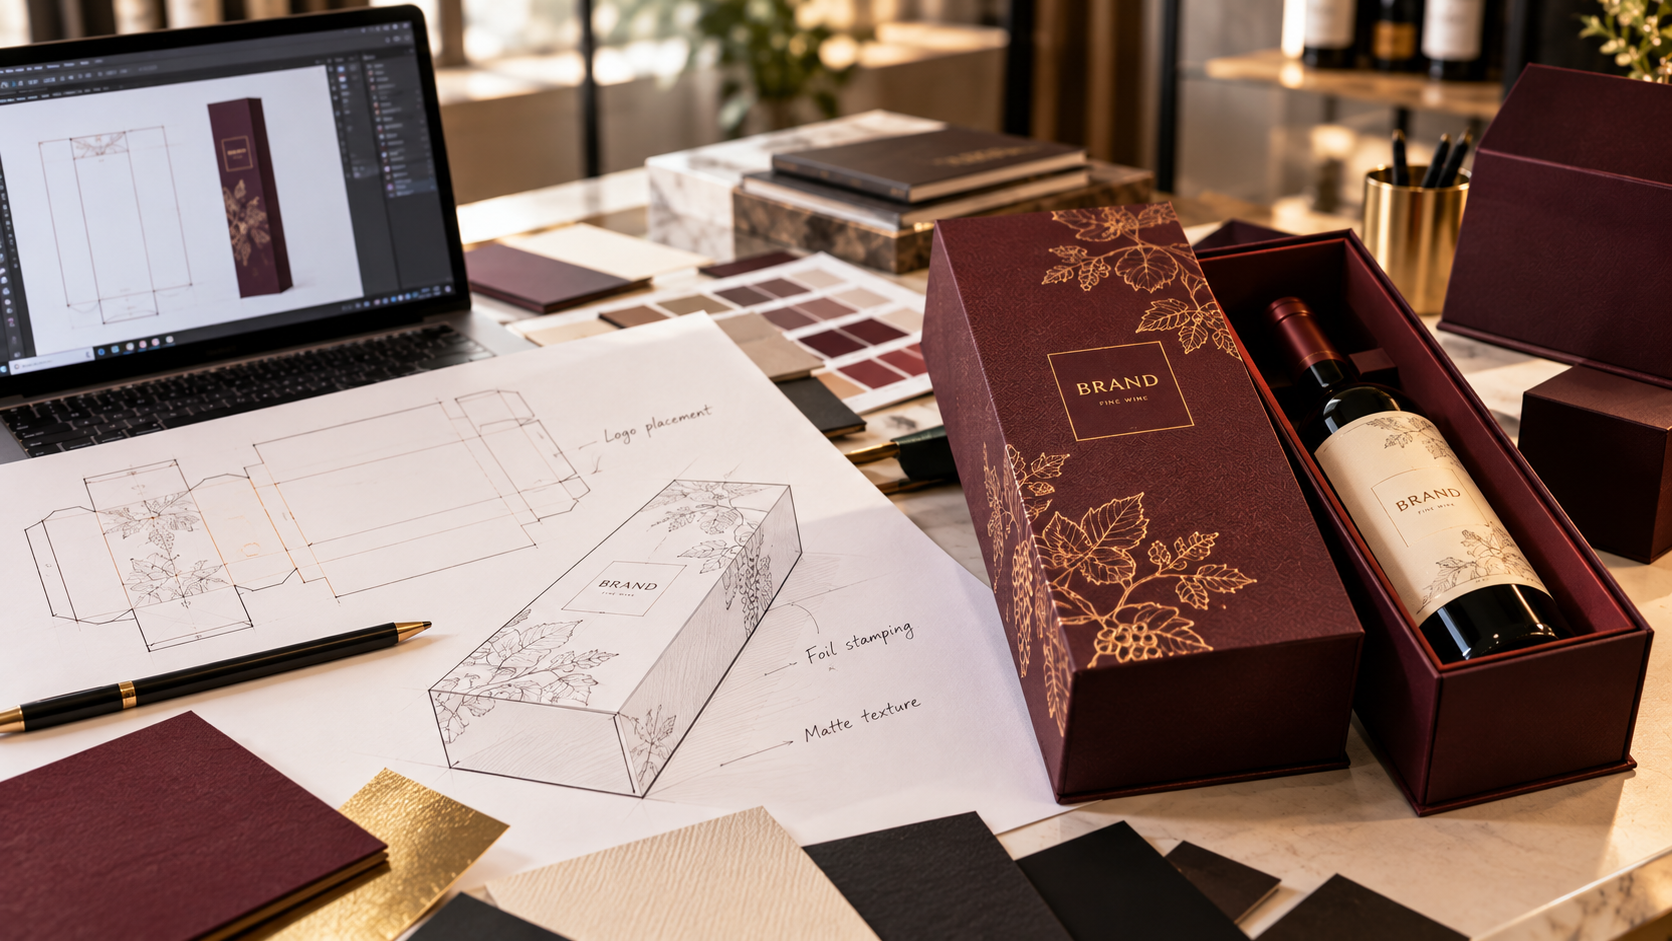
Finishes fixed in place
Foil, spot UV, embossing or heat and scent effects each get an exact position at this stage, well before the press.
Files ready for print
Vector files, supplied as AI or PDF, with fonts outlined and colour set for print rather than screen.
For how each finish behaves across different structures, see our guide to rigid box types, structures and finishes.
04.Approval: The Last Gate Before the Run
Approval is the final checkpoint before a full run. The customer reviews the prototype and the final artwork together and signs off, and anything that needs adjusting, a dimension, a colour reference, a foil position, is settled here, while a change is still a small one.
05.Rigid Box Production, Stage by Stage
After approval, the design moves into production. Rigid box manufacturing is a chain of operations rather than a single one, and each stage passes a specific result to the next.
Board Preparation
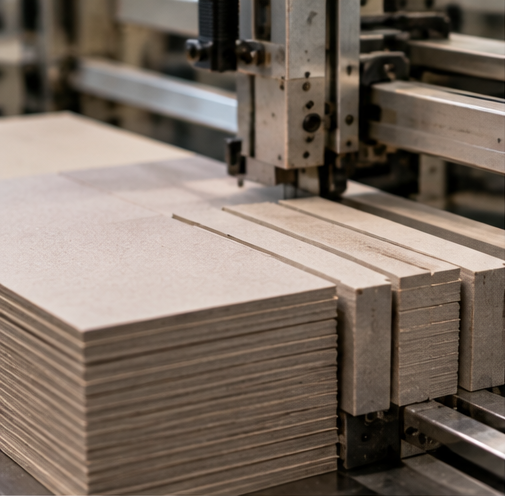
Chipboard is cut to the dimensions on the approved dieline. Where a structure calls for sharp, folded edges, the board is grooved first so it bends cleanly and the wrap doesn't bulge at the corners. How accurate this cut is sets how well every later stage fits together.
Rigid Box Printing
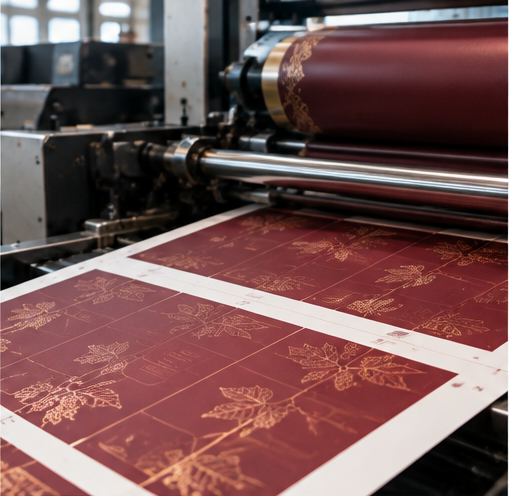
Artwork is printed onto the wrapping paper by offset printing, chosen for repeatable colour across large volumes. Colour management is certified to G7 and Fogra 51, and sheets are compared with the approved reference as the run goes, because colour can shift over a long print.
Finishing
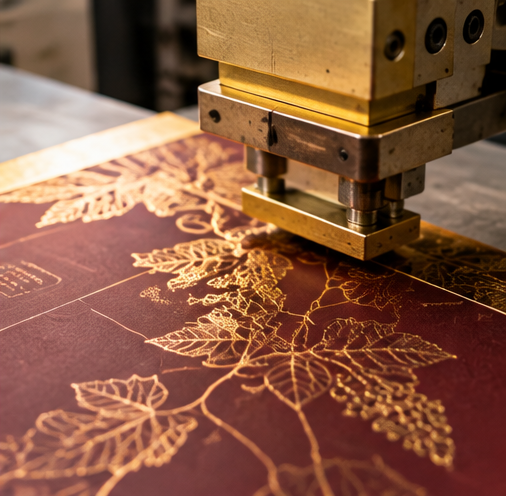
Finishes are applied to the printed paper before it touches the board. Foil stamping presses metallic or coloured foil onto marked areas, spot UV adds gloss to selected details, embossing lifts the design, and heat and scent coatings add an interactive layer. Each needs tooling or coatings made to match the artwork, so positions are locked at the design stage rather than tweaked at the press.
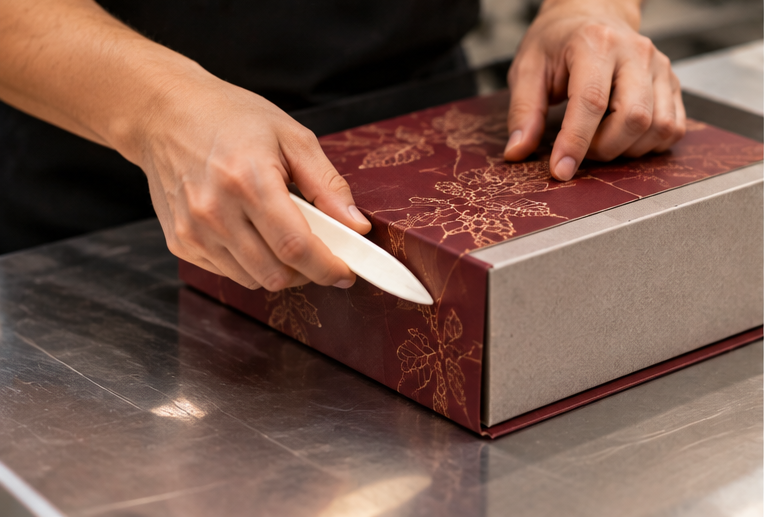
Wrapping
The finished paper is wrapped around the cut board and bonded with adhesive, with corners and edges turned in so the covering lies flat and tight. This is the point where the box becomes rigid, paper and chipboard forming one firm panel that holds its shape.
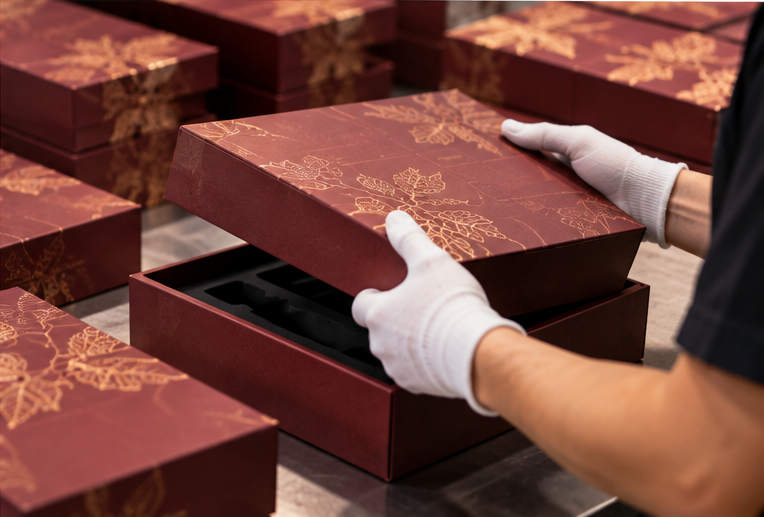
Assembly
Wrapped pieces are formed into the finished structure: lid and base matched, drawer trays fitted to their sleeves, magnets set, hinges and spines fixed. Inserts, including moulded pulp and die-cut inserts, plus any ribbons or pulls in the specification, are fitted here.
06.Quality Checks During Production
Checks happen while the run is underway, not only once it's finished. Three run throughout, each aimed at a different failure.
- Colour check: printed colour is compared with the approved reference at intervals, so any drift is caught early.
- Glue check: wrapped edges, corners, lids and hinges are inspected for full bonding, because a box can look right coming off the line and still lift at an edge after handling.
- Print quality check: registration, sharpness and the placement of foil, spot UV and embossing are verified against the dieline and the approved sample.
These checks operate within a quality management system certified to ISO 9001:2015, backed by ISO 14001:2015 for environmental management and FSC® certification for responsibly sourced paper. For pharmaceutical and medical packaging, ISO 13485 applies as well.
07.How Your Industry Changes the Process
The seven stages don't change, but the category you're packaging decides where the extra attention goes.
| Industry | Where the extra attention goes |
|---|---|
| Wine | Test fit checks the bottle's shoulder and height against the cavity. A telescopic prototype proves lid coverage, and a collapsible one proves it folds flat and rebuilds cleanly. |
| Skincare and cosmetics | The prototype judges the reveal, whether a drawer slides smoothly or a magnetic lid closes evenly, and design time goes to foil, embossing and other brand finishes. |
| Pharmaceutical | Fit is checked against the actual product or device, the insert cavity is proven on the prototype, and print checks cover label and text accuracy. |
| Electronic devices | Each component gets its own fitted cavity, and the prototype confirms the lid aligns level and any magnetic closure holds securely. |
"By the time a box reaches the press, the important decisions have already been proven on a sample."
why prototyping and approval sit ahead of production08.Delivery, Lead Time and Minimum Order Quantity
When production and checks are complete, the boxes are packed and delivered. Lead time is ideally three to six weeks, depending on structure, finishes and volume, and minimum order quantity for boxes starts at 5,000 units.
If you're still weighing up a manufacturer, our guide on how to choose a packaging supplier in Australia covers the questions worth asking, and our complete guide to rigid box packaging covers the category as a whole.
09.Final Summary
A rigid box is made in seven stages, always in the same order: specifications, product test fit, prototype, design, approval, production and delivery. The structure is proven on an unprinted sample before artwork is applied, approval gates the full run, and colour, glue and print quality are checked while the boxes are being made, so the finished order matches what was signed off.
Ready to plan your rigid box?
Tell us what the box needs to hold, and we'll take you through specifications, prototype and finishes before anything is committed to production.
Start Your Rigid Box ProjectFAQs
What are the stages of making a rigid box?
A rigid box moves through seven stages in a fixed order: specifications, product test fit, prototype, design, approval, production and delivery. The production stage itself runs from board preparation through printing, finishing, wrapping and assembly, with colour, glue and print quality checked as it goes.
Why does a rigid box prototype come before the design?
An unprinted prototype lets the fold, fit and closure be judged on the structure alone. Changing the structure after artwork is finished means reworking every panel, fold and finish position, whereas proving it first means the artwork is built only once.
How are rigid boxes printed?
Artwork is printed onto the wrapping paper by offset printing, which holds colour steady across large volumes. Foil stamping, spot UV and embossing are applied to that printed paper before it is wrapped around the board.
How is quality checked while rigid boxes are being made?
Colour is compared against the approved reference, glue is inspected on wrapped edges, corners, lids and hinges, and print quality is verified for registration and finish placement. All three happen during the run rather than only at the end.
What is the minimum order and lead time for rigid boxes in Australia?
Minimum order quantity for boxes starts at 5,000 units, and lead time ideally sits between three and six weeks, depending on the structure, finishes and volume.